
Perfect Chocolate Chip Cookies


This recipe has been a long time in the making. Truly. Before the idea of having an online presence was even a glimmer of an idea in my head, I was working on this recipe. Chocolate chip cookies are one of those things that are like pizza, even if it isn’t very good, it’s still a chocolate chip cookie and, therefore, a decent snack. So though I have had and made many decent chocolate chip cookies in my day, I wanted something better. I wanted to make the absolute best chocolate chip cookie that I could. I wanted a chewy cookie with an interesting texture and a deep and complex flavor. I have finally, after years of work, stumbled upon the final equation for what is, in my opinion, the perfect chocolate chip cookie. There are many out there who have had this cookie at various stages of its development and have asked for the recipe. I am hereby declaring all of those recipes null-and-void. This is the one you NEED to replace them with PRONTO!

There are many keys to making this recipe the best it can be. The first is that I have added almond flour to the mix. If you’ve never used almond flour before, I highly recommend. It can’t really replace all the flour in a recipe because it doesn’t behave as regular flour does at all, but added in small amounts it can create a deliciously nutty flavor and an awesome texture in your cookies that you can’t get any other way.

The next key to this recipe is the use of melted butter rather than softened butter. Melting the butter ensures that you’ll end up with a chewy cookie rather than a crispy or cakey one. When I tried melting the butter for the first time, I couldn’t believe the difference it made. Another key is to use dark brown sugar rather than light brown sugar. You’ll notice that in the picture I use light brown sugar because that’s all I have in my house. To ensure that deep, dark-brown flavor, I added a drizzle of molasses to the mix as that’s all the difference between dark brown and light brown sugar anyway.

Making the cookies chewy starts with that melted butter, but it is also helped along by the addition of an extra egg yolk into the wet ingredients. Most cookie recipes use whole eggs, and this has one, but the extra fat from the additional yolk puts the nail in the crispy coffin, and promises that the cookies will chew.

I always like to mix in the dry ingredients by hand with most recipes. Gluten, though helpful in baking, can get overdone quite easily. If you over-mix your batters and doughs, they’ll come out tough. I’ll often start with the mixer, and then finish with my spatula, just to be sure that I mix only just enough.

This holds true when you mix in the chocolate chips as well. I do so with a spatula again. Now, could you easily use a mixer for the entire recipe instead of doing any of it by hand? Sure. However, I like to add this extra safety precaution to ensure that I get a good result each and every time. I will admit though, hypocrite that I am, that, when I’m in a hurry or when I’m working with big batches, I’ll pull out the Kitchenaid, and do everything in there to save time.

There are two more secrets to share with you. The first is that you MUST let this dough sit for 15 minutes before you scoop and bake. Believe me that I have made the mistake several times of skipping this step. Your cookies will expand to the size of hubcaps and be as flat a crepes in the oven. They’ll taste fantastic still, but will look an absolute mess. Please do not skip this step as it will only upset you and me. Yes, I’ll know if you’ve skipped it…it’s a wizard thing.

After letting the dough rest, I scoop out the dough balls with an ice cream scoop. I find that this gives me the most consistent results. In fact, I did hear a story once of someone claiming that I did not, in fact, make my cookies, and that I bought them at a bakery because they looked too perfect. This is how I accomplish that feat. Using the ice cream scoop ensures that every cookie is the same size. However, if you do not have one, my cookie scoop measures about 1/4 cup, so you can use a 1/4 cup measuring cup in a pinch.
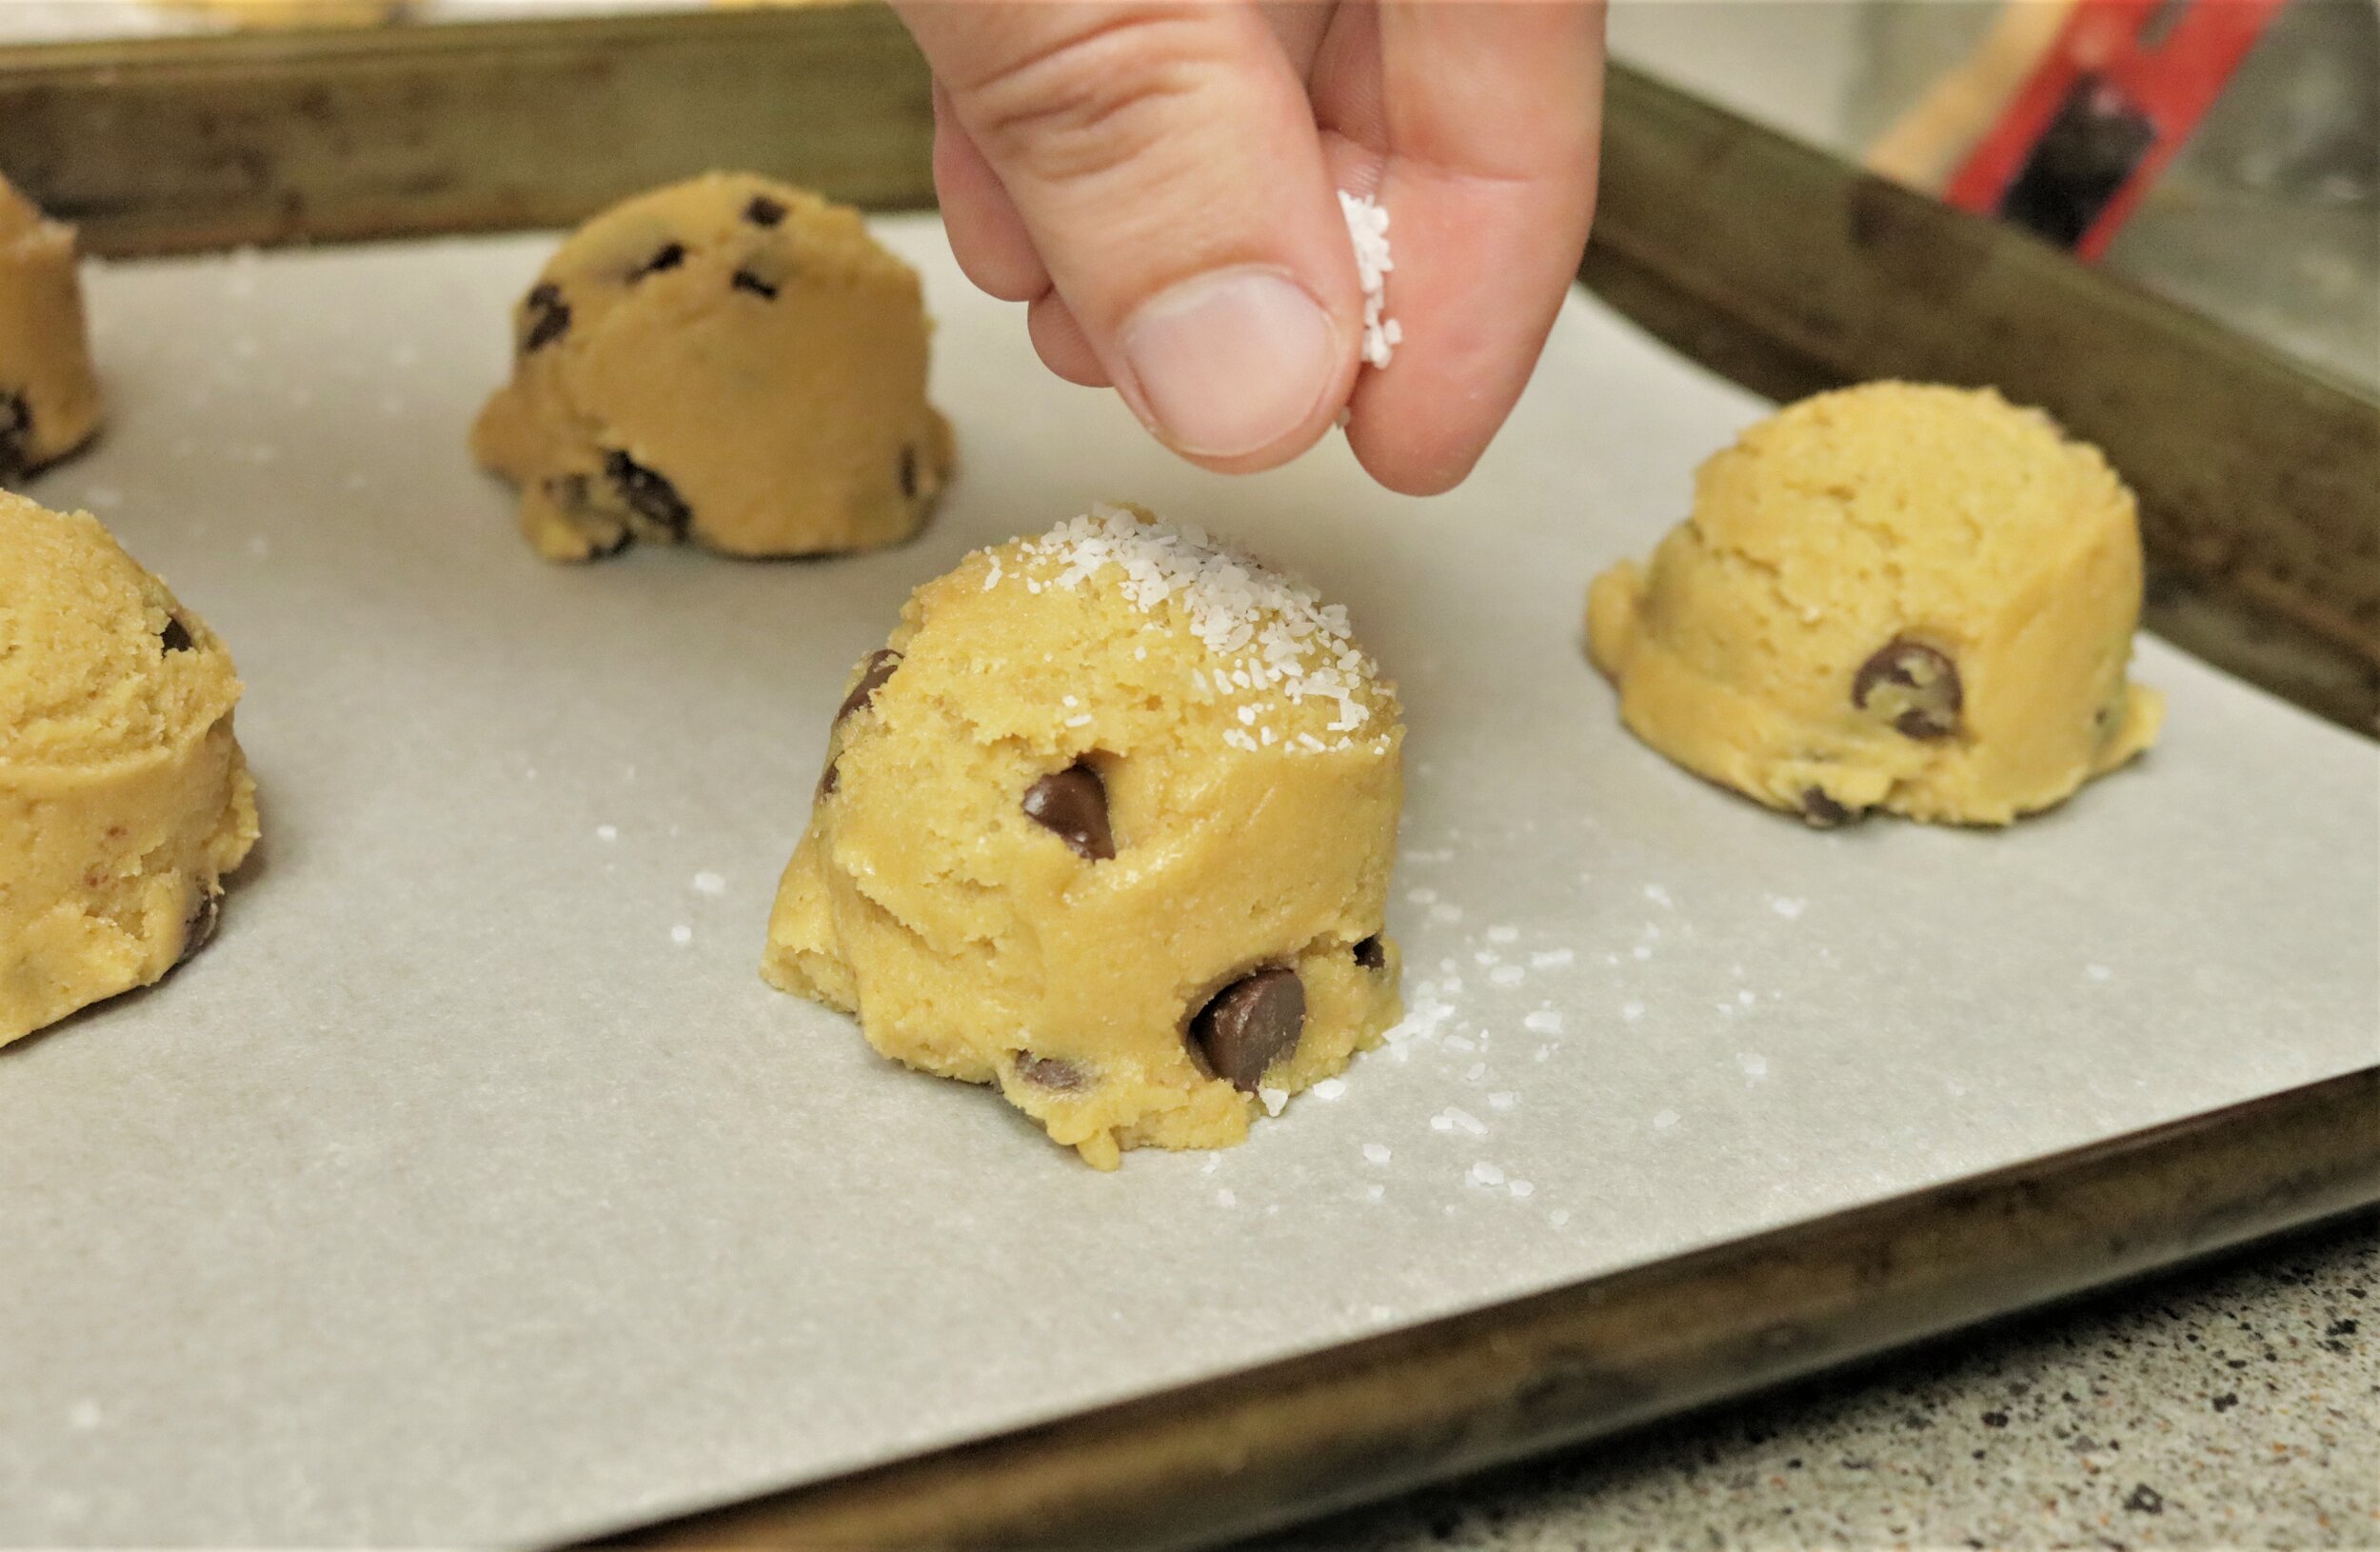
Now we have the final secret. The salt. I LOOOOOOVE the combination of salty and sweet. It’s the reason that the Reese’s brand of products has always been and will continue to be my favorite candies. I felt that the salt level of these cookies needed to be upped a little. So, rather than adding more salt to the dough, I simply sprinkled some kosher salt on top. Please use kosher salt or flaky salt for this. I promise that you will not get the same result with regular table salt.
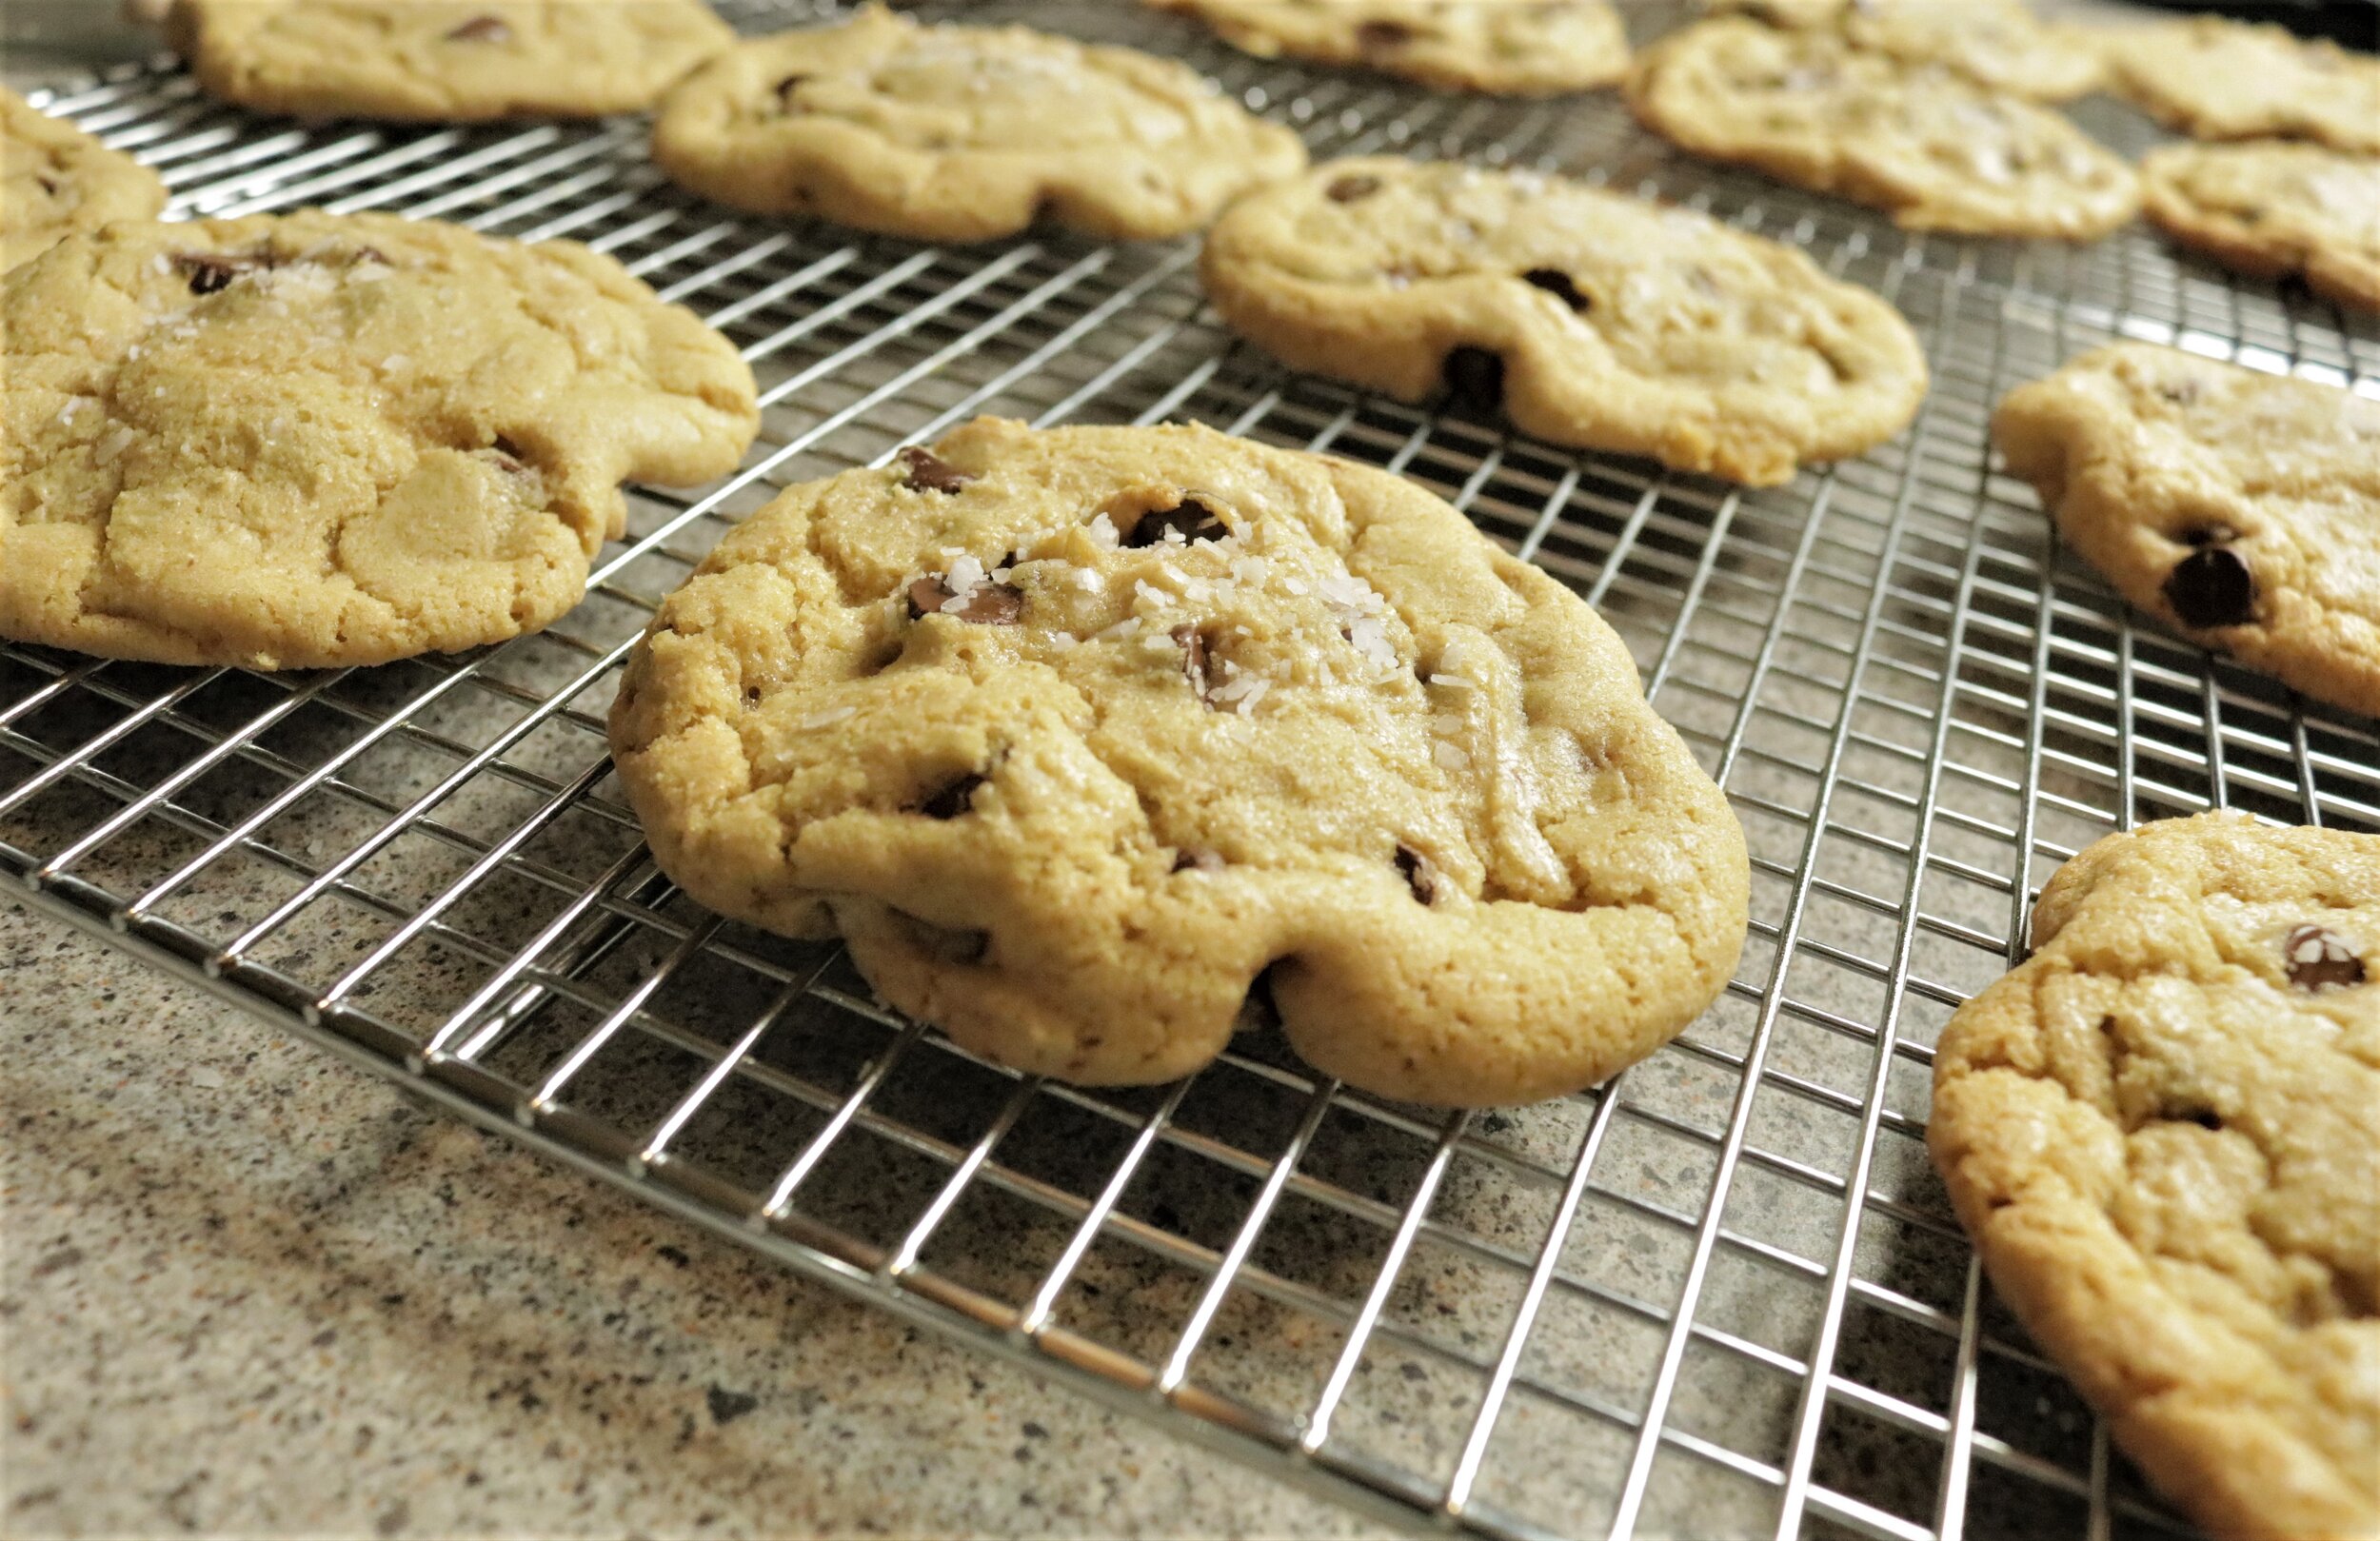
I also promise you that the baking time that I have given you will work if your oven temperature is correct. I say this because when you go to pull these out of the oven, you may think that they aren’t baked enough. I swear that they are. After baking, these cookies will be impossible to move in one piece directly out of the oven. You need to let them sit on the pan to cool for about 5 minutes before you can move them. After that cooling time, let them cool completely on a cooling rack, then proceed to enjoy, and you WILL enjoy these.
I hope that you all will fall in love with this recipe as I have. I’ve worked hard on it for a while, and I’m so happy to be sharing it with you. Tag me on Instagram or Twitter if you all try it. I’d love to see your results! Remember you don’t have to be a pro chef to make magic in the kitchen!
Joe the Blue Wizard
Perfect Chocolate Chip Cookies
Ingredients:
- 1 3/4 Cup (210 g) Flour
- 1/2 Cup + 2 Tbsp. (70 g) Almond Flour
- 1/2 Tsp. (3 g) Kosher Salt
- 1/2 Tsp. (2 g) Baking Soda
- 1 1/2 Sticks (165 g) Butter, Melted
- 1 Cup (200 g) Dark Brown Sugar
- 1/2 Cup (100 g) Sugar
- 1 Large Egg
- 1 Large Egg Yolk
- 2 Tsp. (10 mL)Vanilla
- 1 1/2 (250 g) Cups Chocolate Chips
- Additional Kosher Salt for sprinkling
Instructions:
- Preheat oven to 325 degrees F.
- In a medium-sized bowl, whisk together flour, almond flour, salt and baking soda. Set aside.
- In a large bowl, beat together melted butter and sugars until lightened in color.
- Add egg, egg yolk and vanilla and beat until combined.
- Add flour mixture and stir until just combined.
- Add chocolate chips and stir until evenly combined.
- Allow dough to sit at room temperature for at least 15 minutes.
- Scoop out in 1/4 cup dough balls onto two baking sheets lined with parchment paper. Space so that the dough balls are at least 2 inches apart from each other and the sides of the pan.
- Sprinkle each dough ball with additional kosher salt.
- Bake for 15 minutes total, rotating the pan halfway through the baking.
- Allow to cool for 5 minutes on the pan before removing cookies to cool completely on a wire rack.
Calories
270Fat (grams)
8.3Sat. Fat (grams)
2.8Carbs (grams)
113Fiber (grams)
.5Sugar (grams)
102.4Protein (grams)
2.4Sodium (milligrams)
320Cholesterol (grams)
23.2